ETA e-invoicing
Connect the workspace to the Egyptian Tax Authority and submit posted invoices.
-
Step 1
Complete the business profile
Owner: Workspace settings → Business / invoice profile. Required before ETA is ready: tax RIN, legal or trade name, branch code, activity code.
Screenshots show the English workspace UI.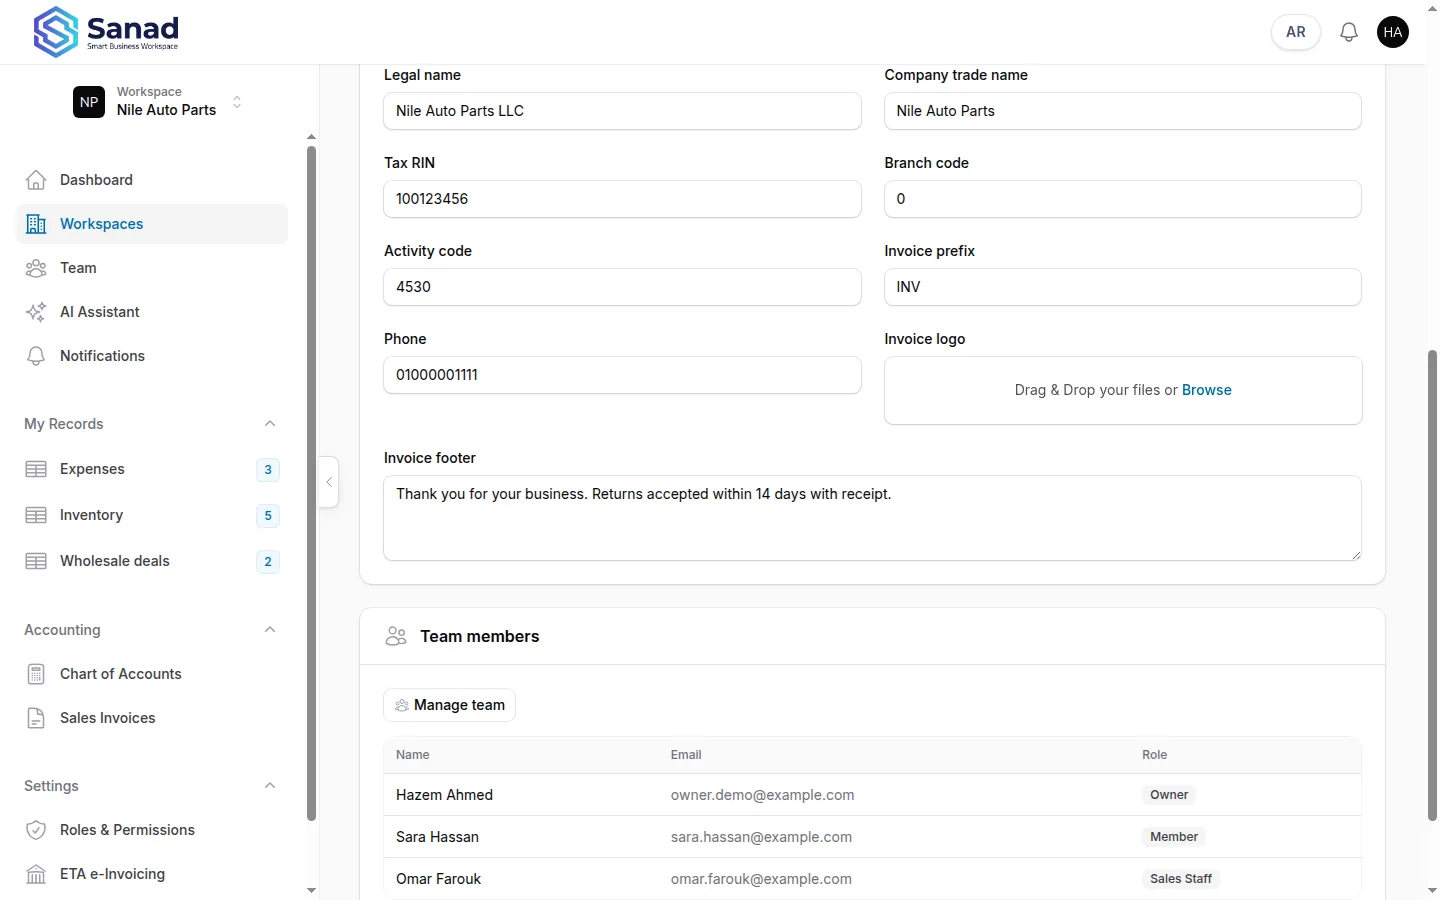
-
Step 2
Open ETA settings
Settings → ETA e-Invoicing. Set environment (Pre-production or Production), Client ID and secret, Enable ETA submissions, and the signing certificate and key.
Screenshots show the English workspace UI.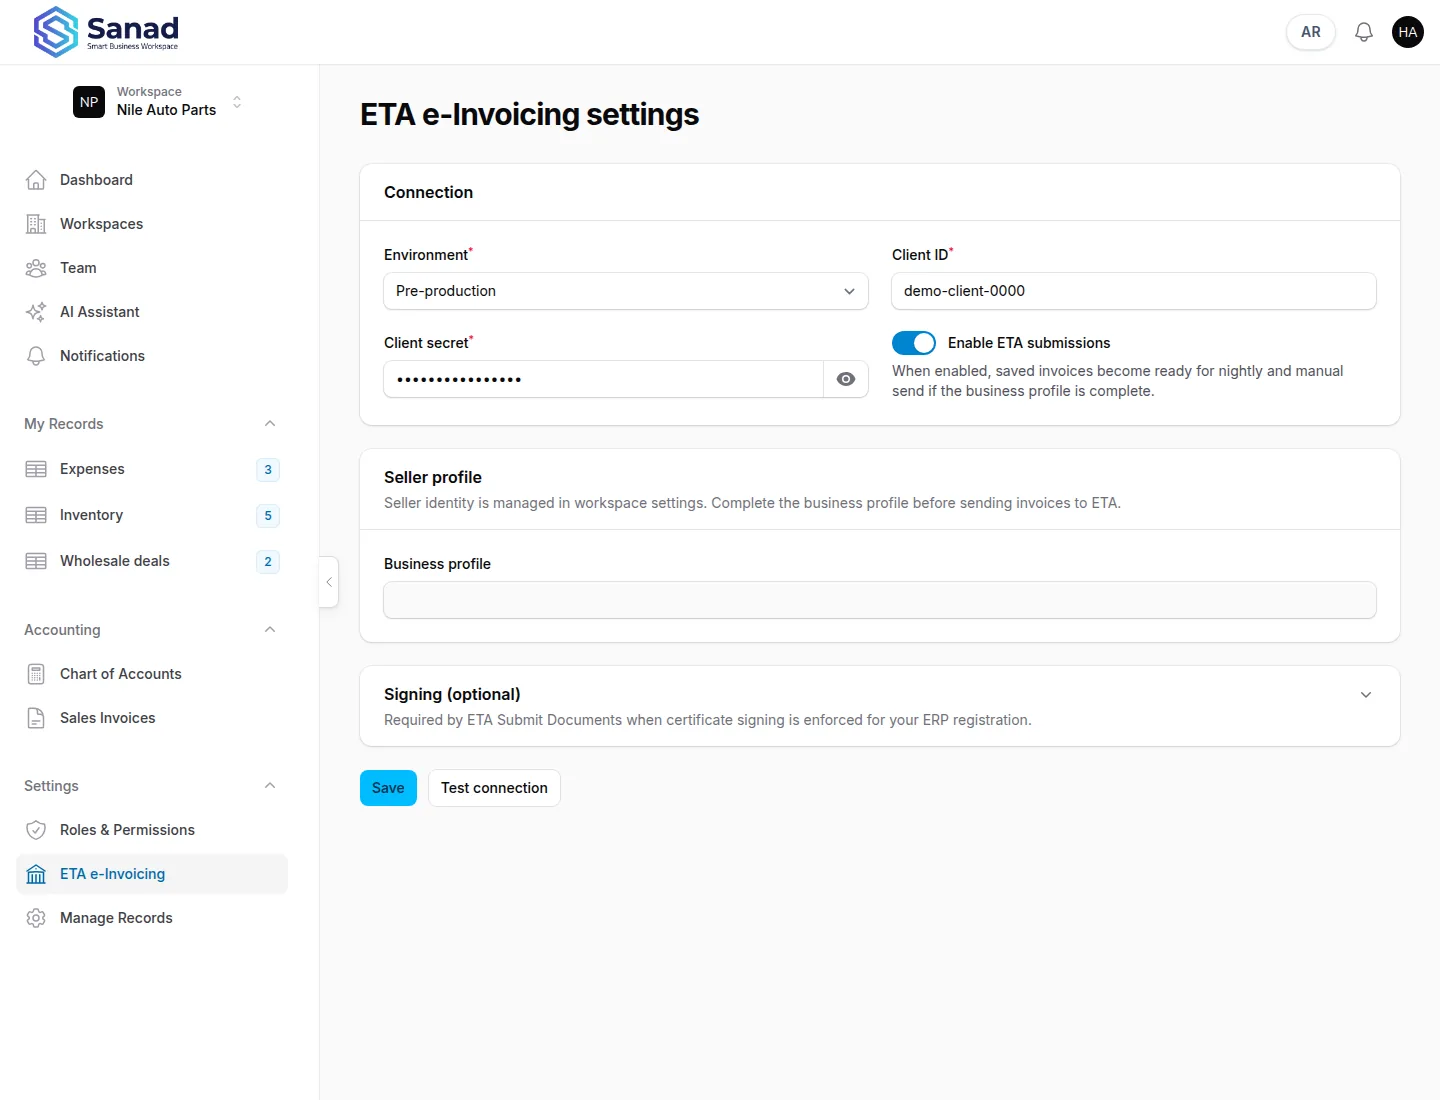
-
Step 3
Save and test connection
Save, then Test connection before sending live invoices.
Screenshots show the English workspace UI.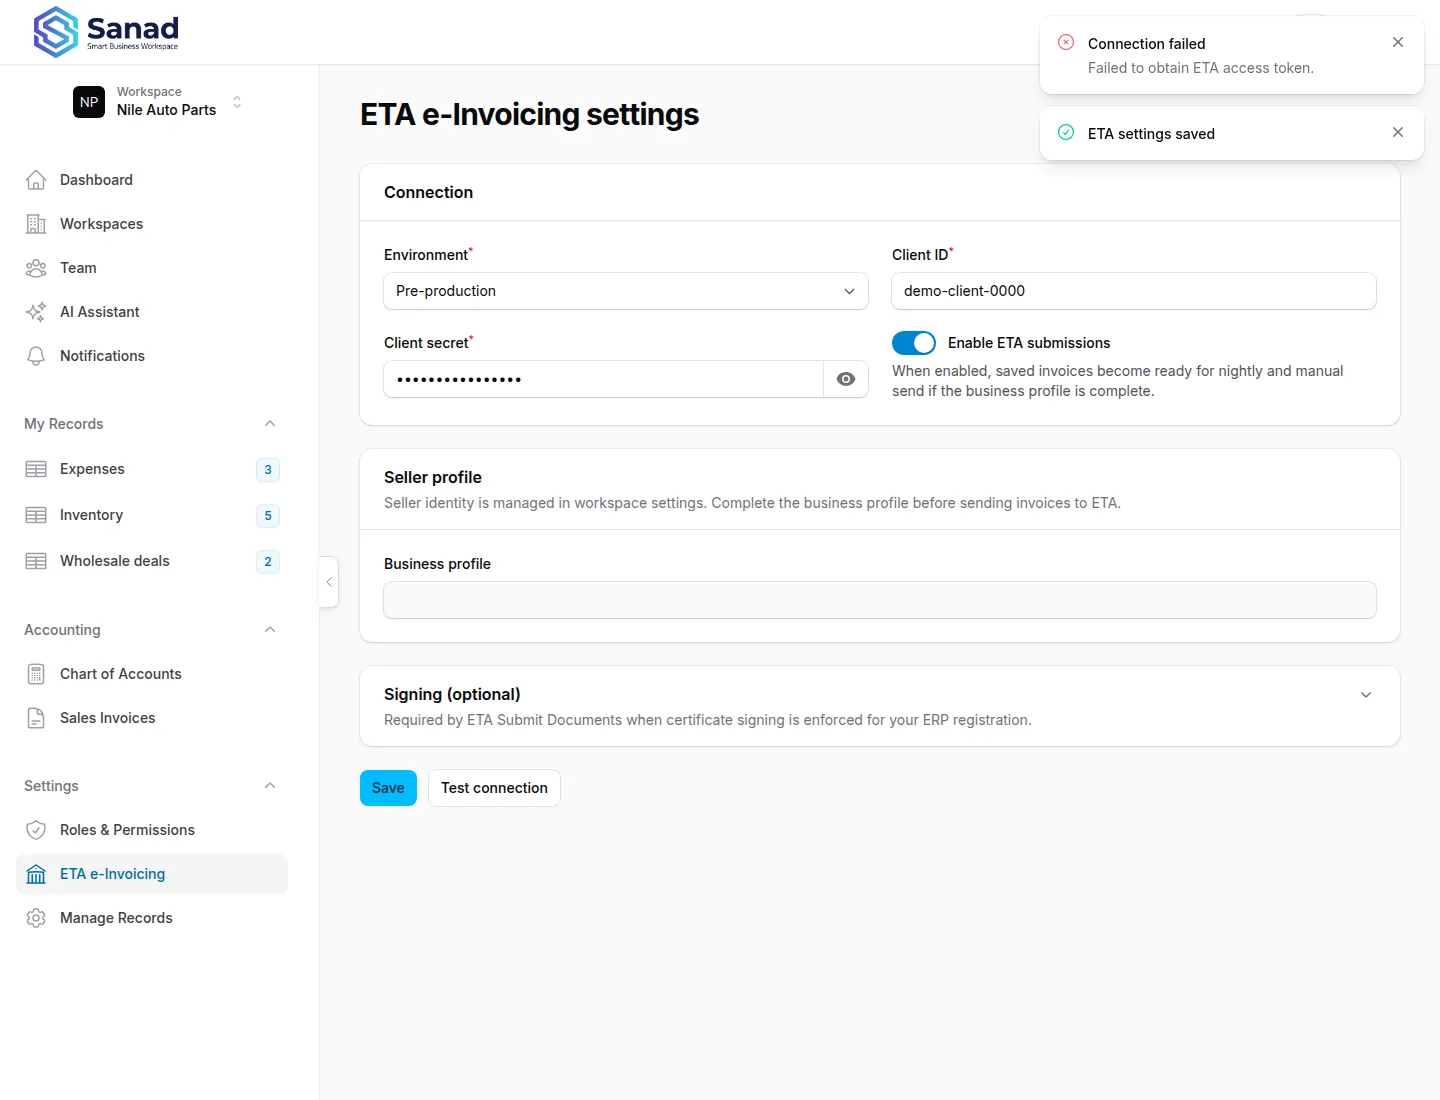
-
Step 4
Send a posted invoice
On a posted invoice that is Ready for ETA, use Send now. A nightly job also picks up ready invoices if nobody clicked Send now.
Screenshots show the English workspace UI.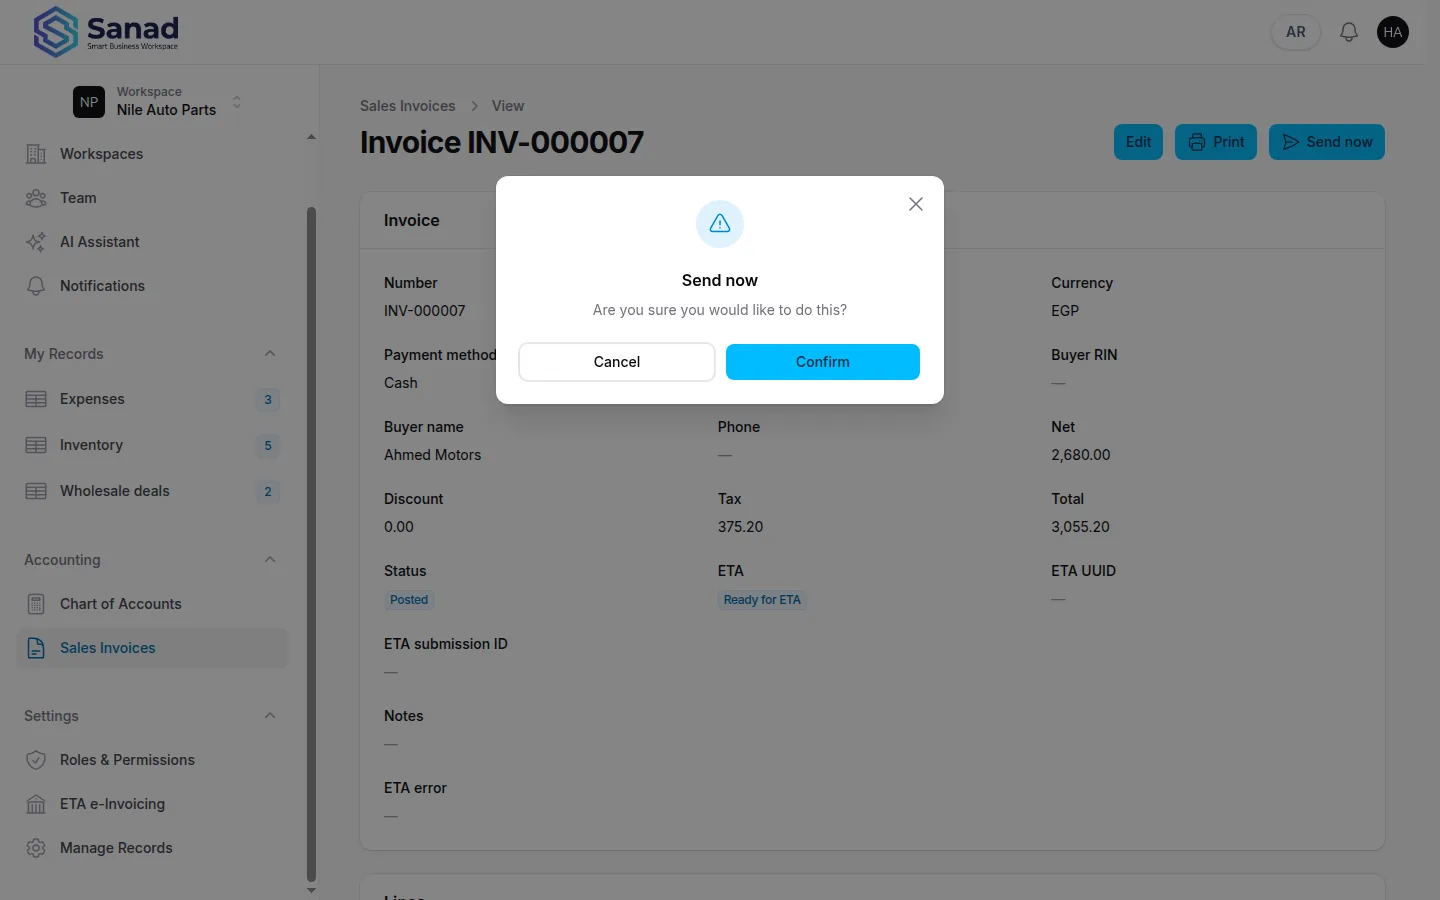
-
Step 5
Download the official PDF
After ETA Accepted, Download ETA PDF. Status sync runs in the background so Submitted invoices become Accepted or Rejected without extra clicks.
Screenshots show the English workspace UI.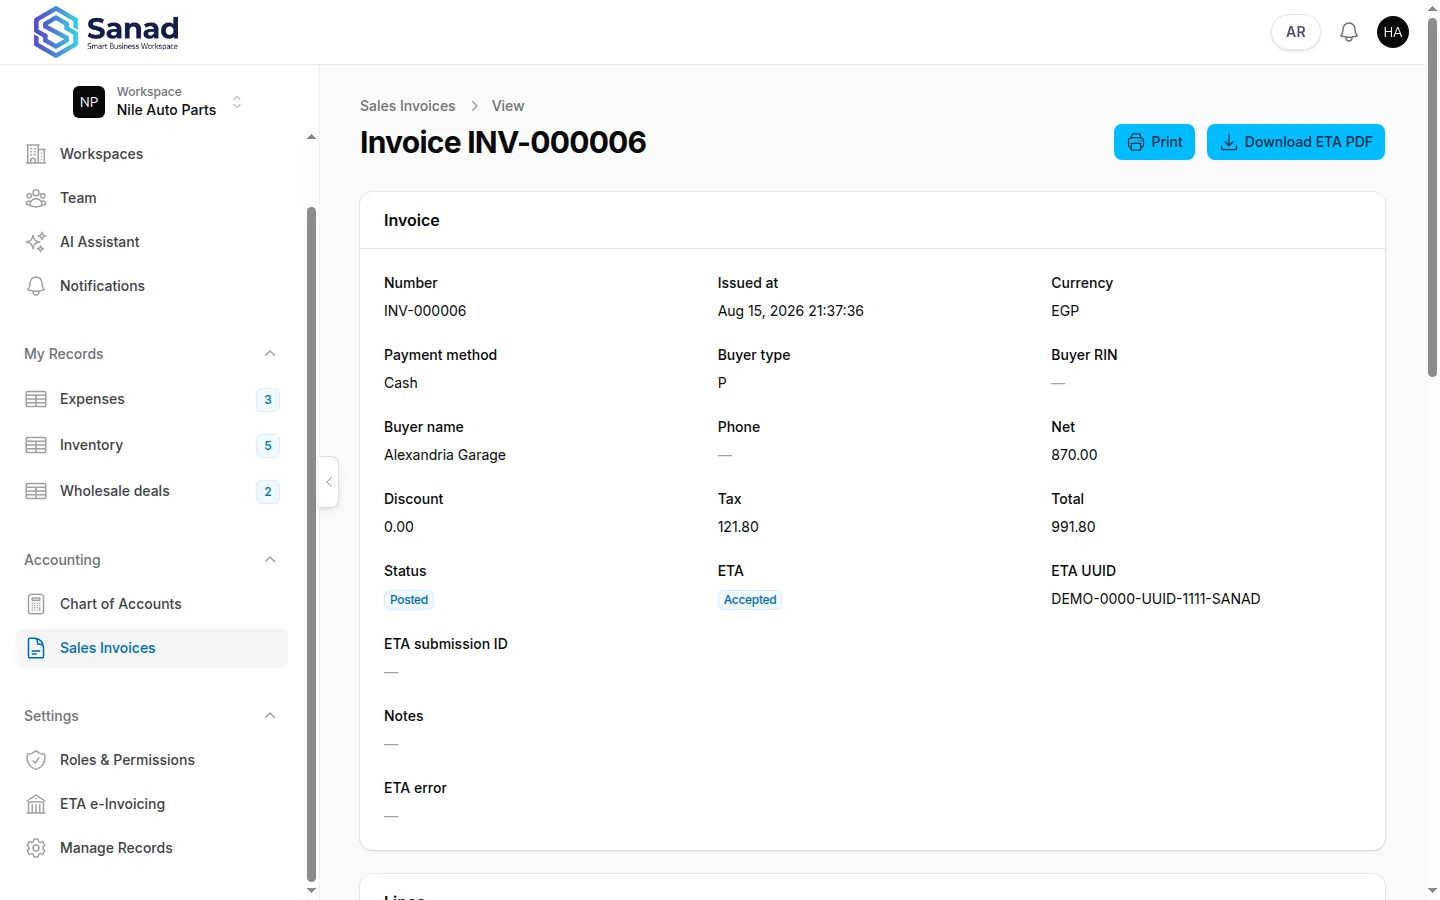
Related articles
Sales invoices
Create, print, correct, and optionally send Egyptian-pound invoices, with per-line discounts, an internal Number (INV-…) and a separate ETA number (ETA-…), plus local and ETA statuses.
Workspaces
Switch, create, and configure company spaces you own — including the invoice business profile.
Inventory records on invoices and ETA
Turn a product list into invoice lines that print locally and submit to the Egyptian Tax Authority.