Workspaces
Switch, create, and configure company spaces you own — including the invoice business profile.
-
Step 1
Open Workspaces
Workspaces in the sidebar opens My Workspaces — every space you own. Each has its own lists, invoices, team, and settings.
Screenshots show the English workspace UI.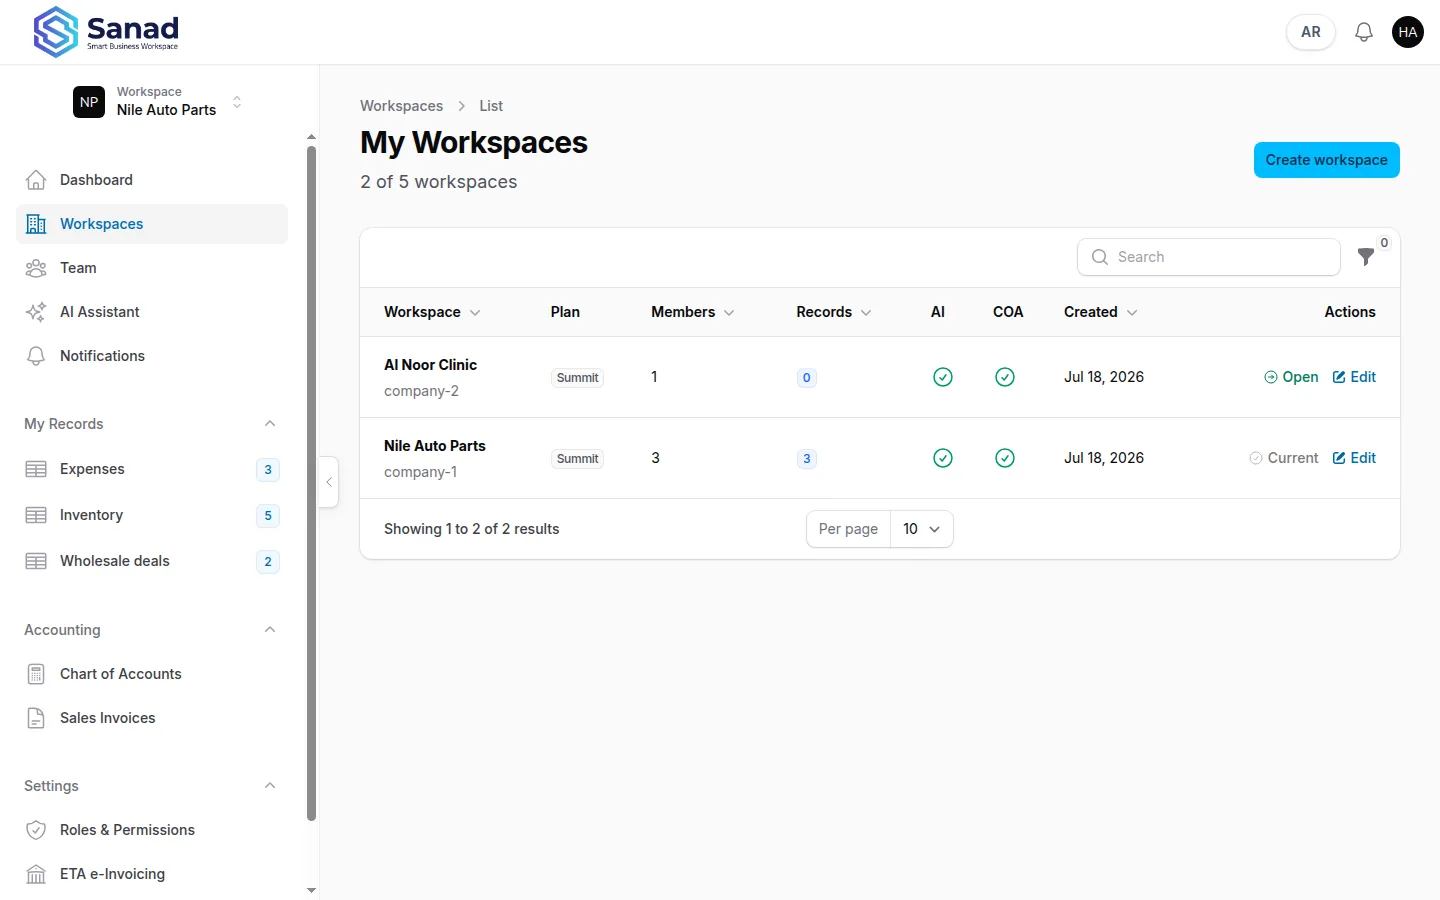
-
Step 2
Open vs Current
Open switches into that workspace. Current is the one you are already in.
Screenshots show the English workspace UI.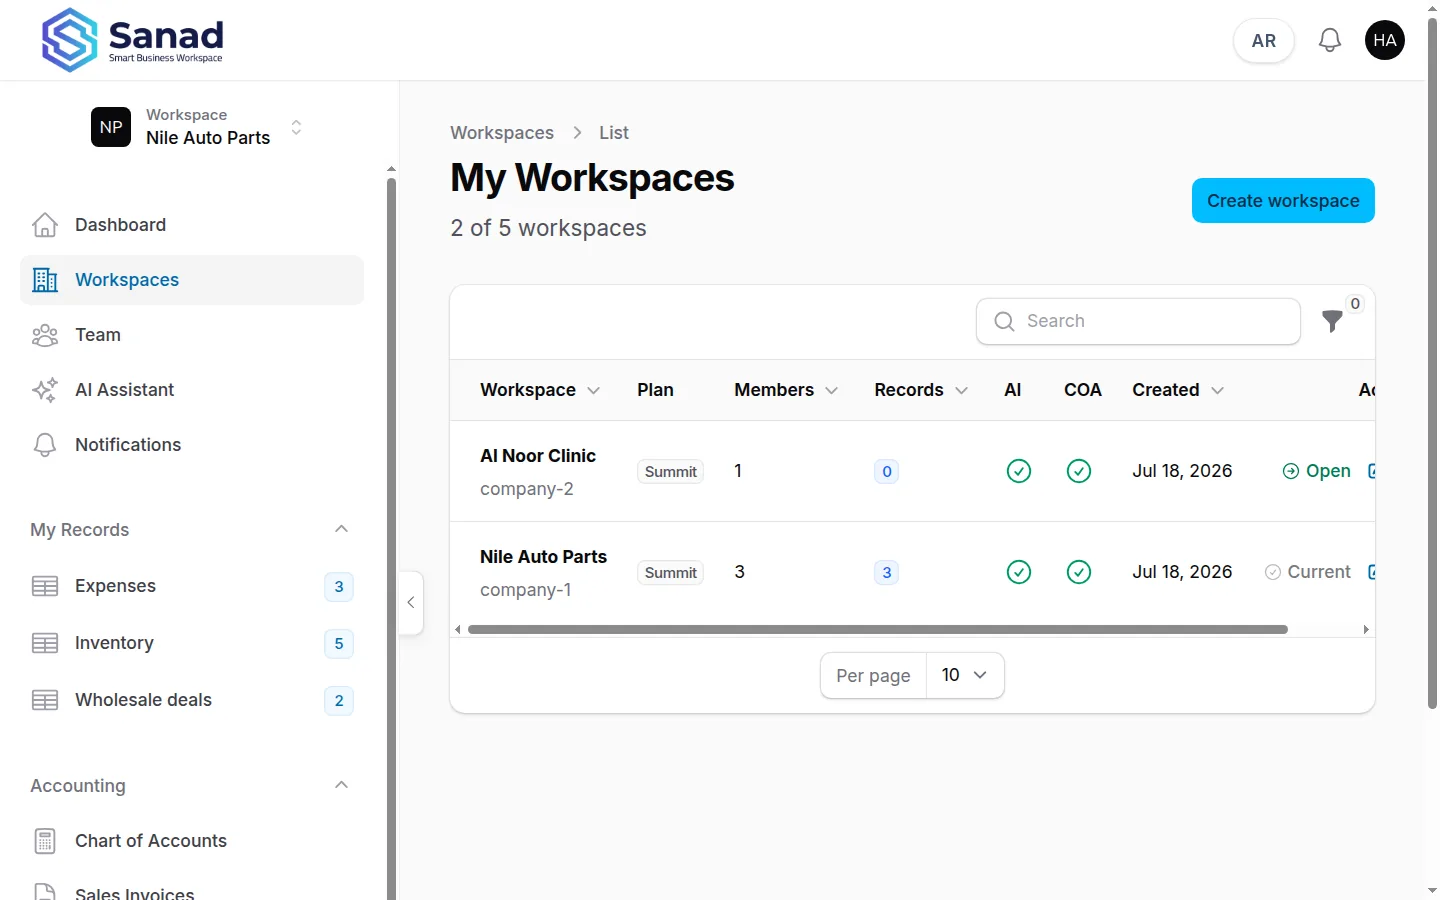
-
Step 3
Create a workspace
If the plan still has a slot, Create workspace, give it a name. You become Owner of the new space.
Screenshots show the English workspace UI.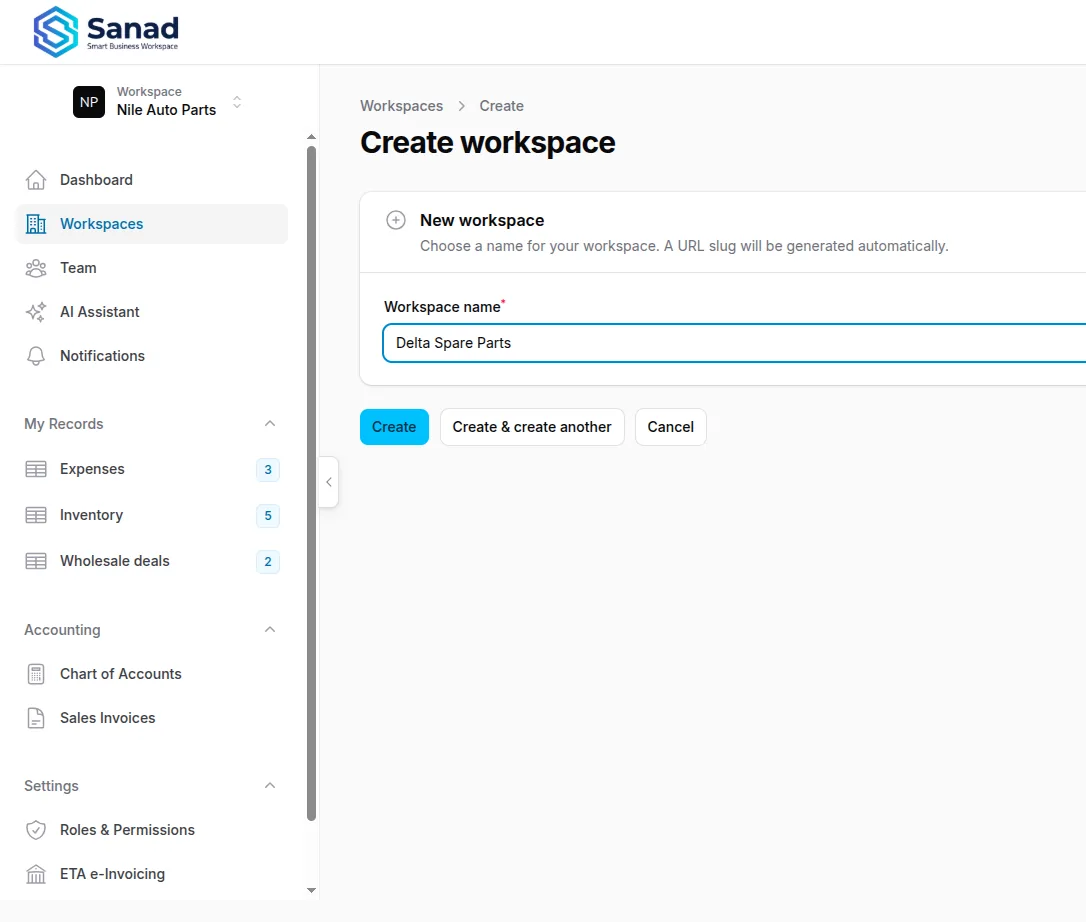
-
Step 4
Edit workspace settings
Owner only. Name and URL slug, Plan & usage (current plan, AI / Chart of Accounts / ETA on or off, list count, member count), and a team preview linking to Team.
Screenshots show the English workspace UI.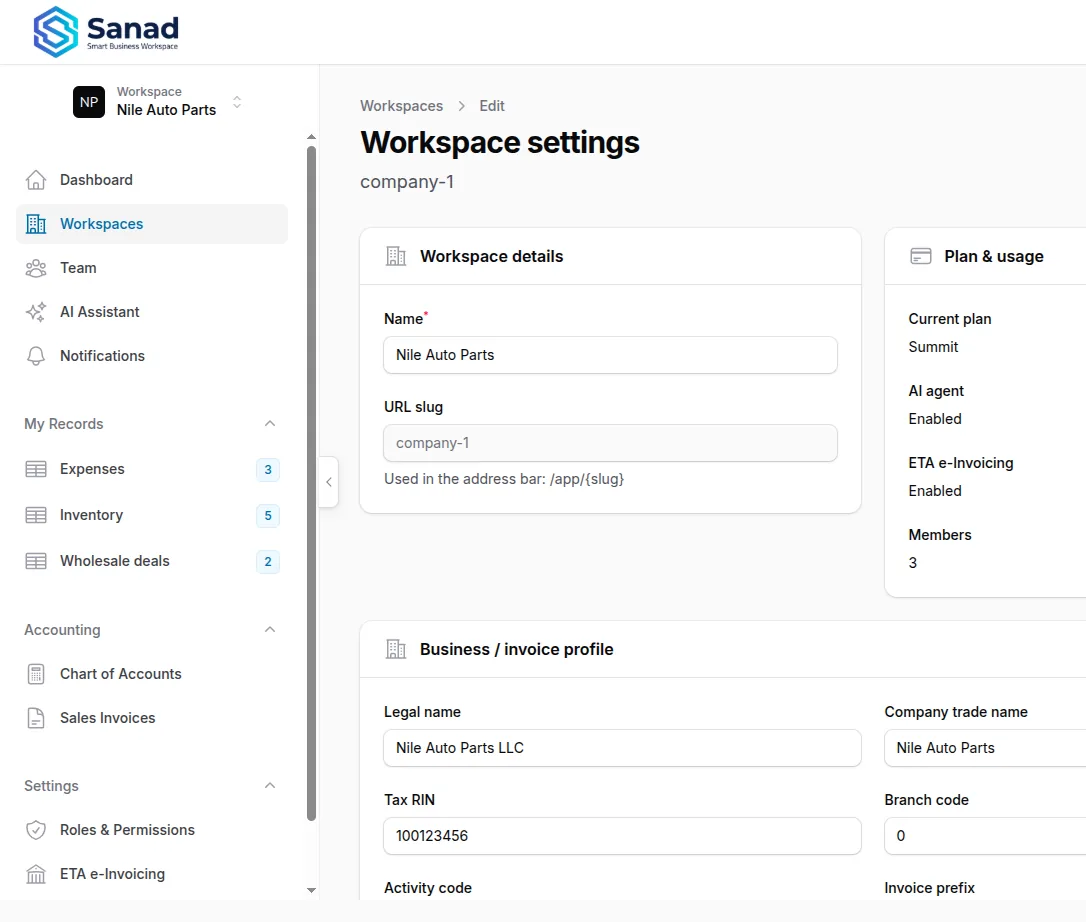
-
Step 5
Business / invoice profile
Owner: legal name, trade name, tax RIN, branch code, activity code, invoice prefix, phone, logo, footer. Needed for print and ETA. On a free plan, Upgrade plan is also available here (or Adjust plan on the dashboard).
Screenshots show the English workspace UI.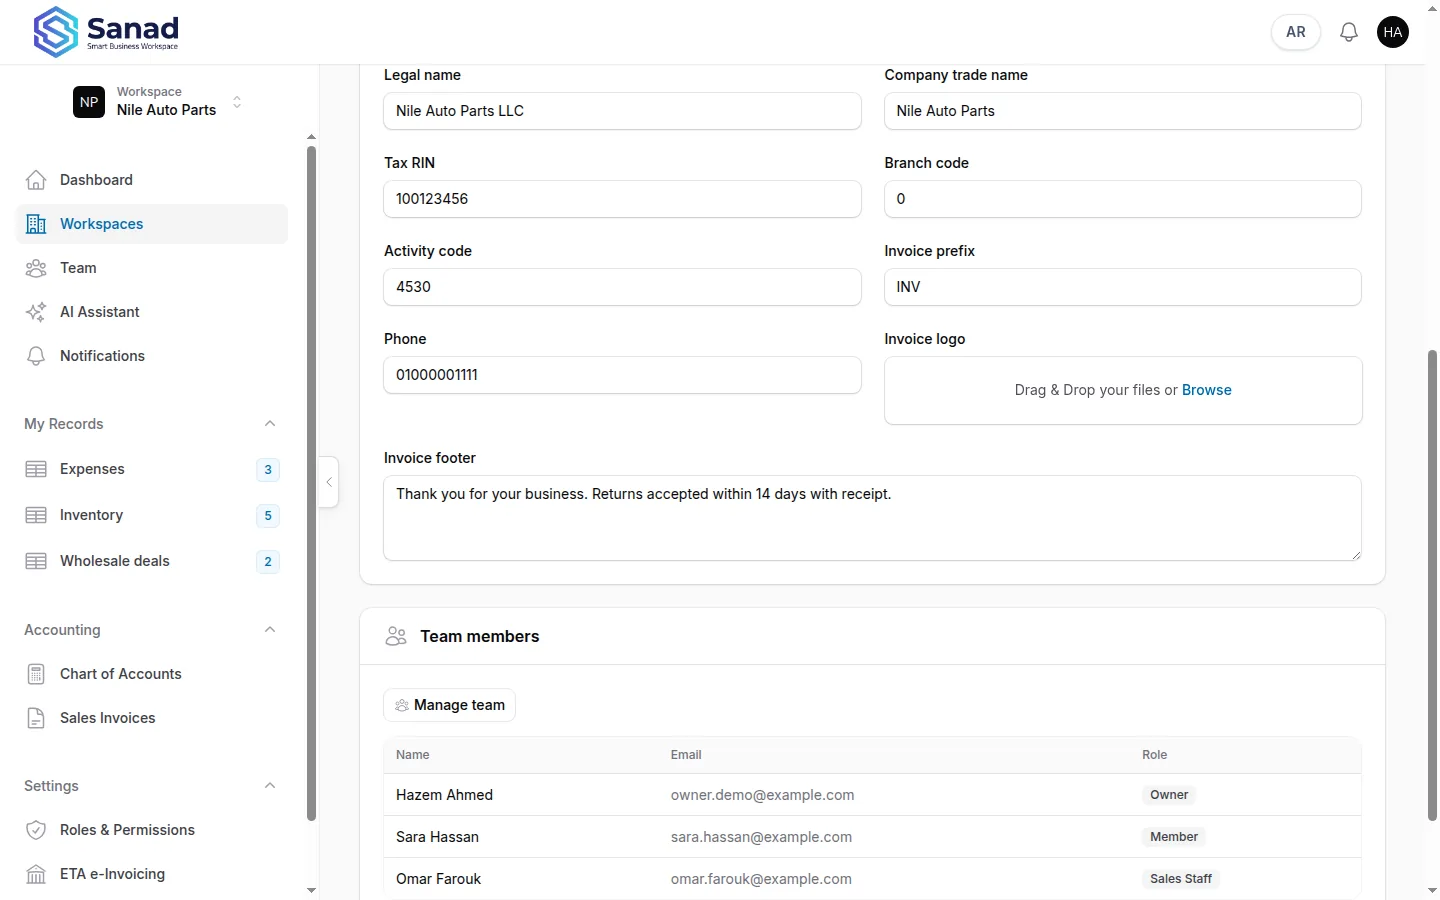
Related articles
Team and invitations
Invite people by email, pick a role, change roles later, or revoke pending invites.
Plans and billing
What each plan unlocks, how to request a change, and what Pending payment means.
Create an account and first hour
Sign up, open the workspace as Owner, then fill the Business / invoice profile. Team, lists, and invoices have their own guides.