Add and manage entries
Open a list under My Records, add or edit rows, import Excel, filter the table, and download a barcode label when the list has a barcode field.
-
Step 1
Open the list under My Records
My Records in the sidebar lists every saved list. The badge is how many rows it has. The page title is the list name. Add Entry starts a new row.
Screenshots show the English workspace UI.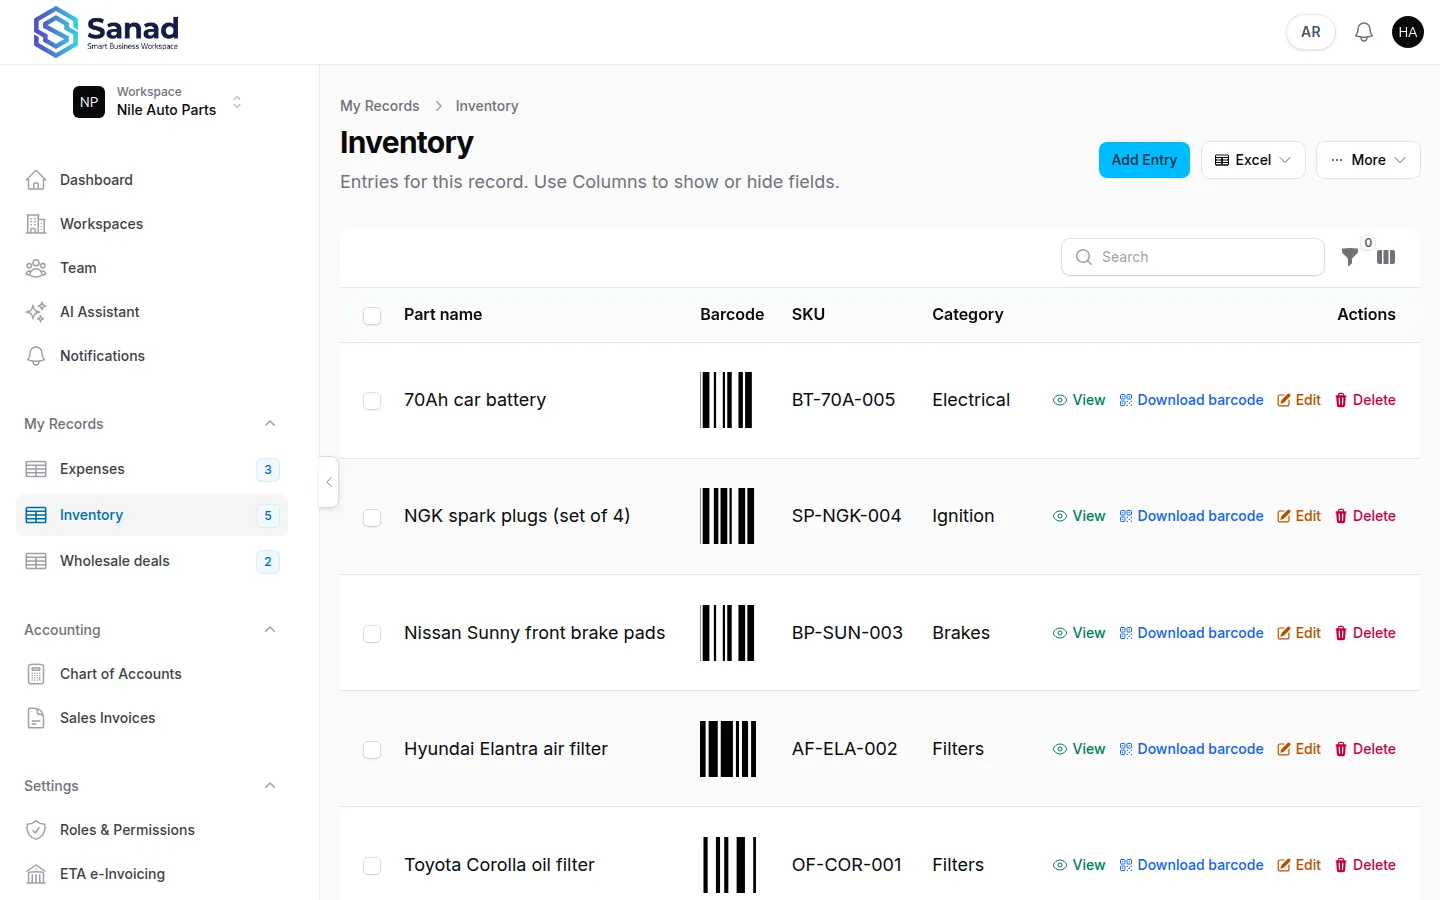
-
Step 2
Add or open a row
Add Entry opens Create Entry. Fill the fields and save. View opens the row. Edit and Delete appear only if the role includes Records — Edit or Records — Delete.
Screenshots show the English workspace UI.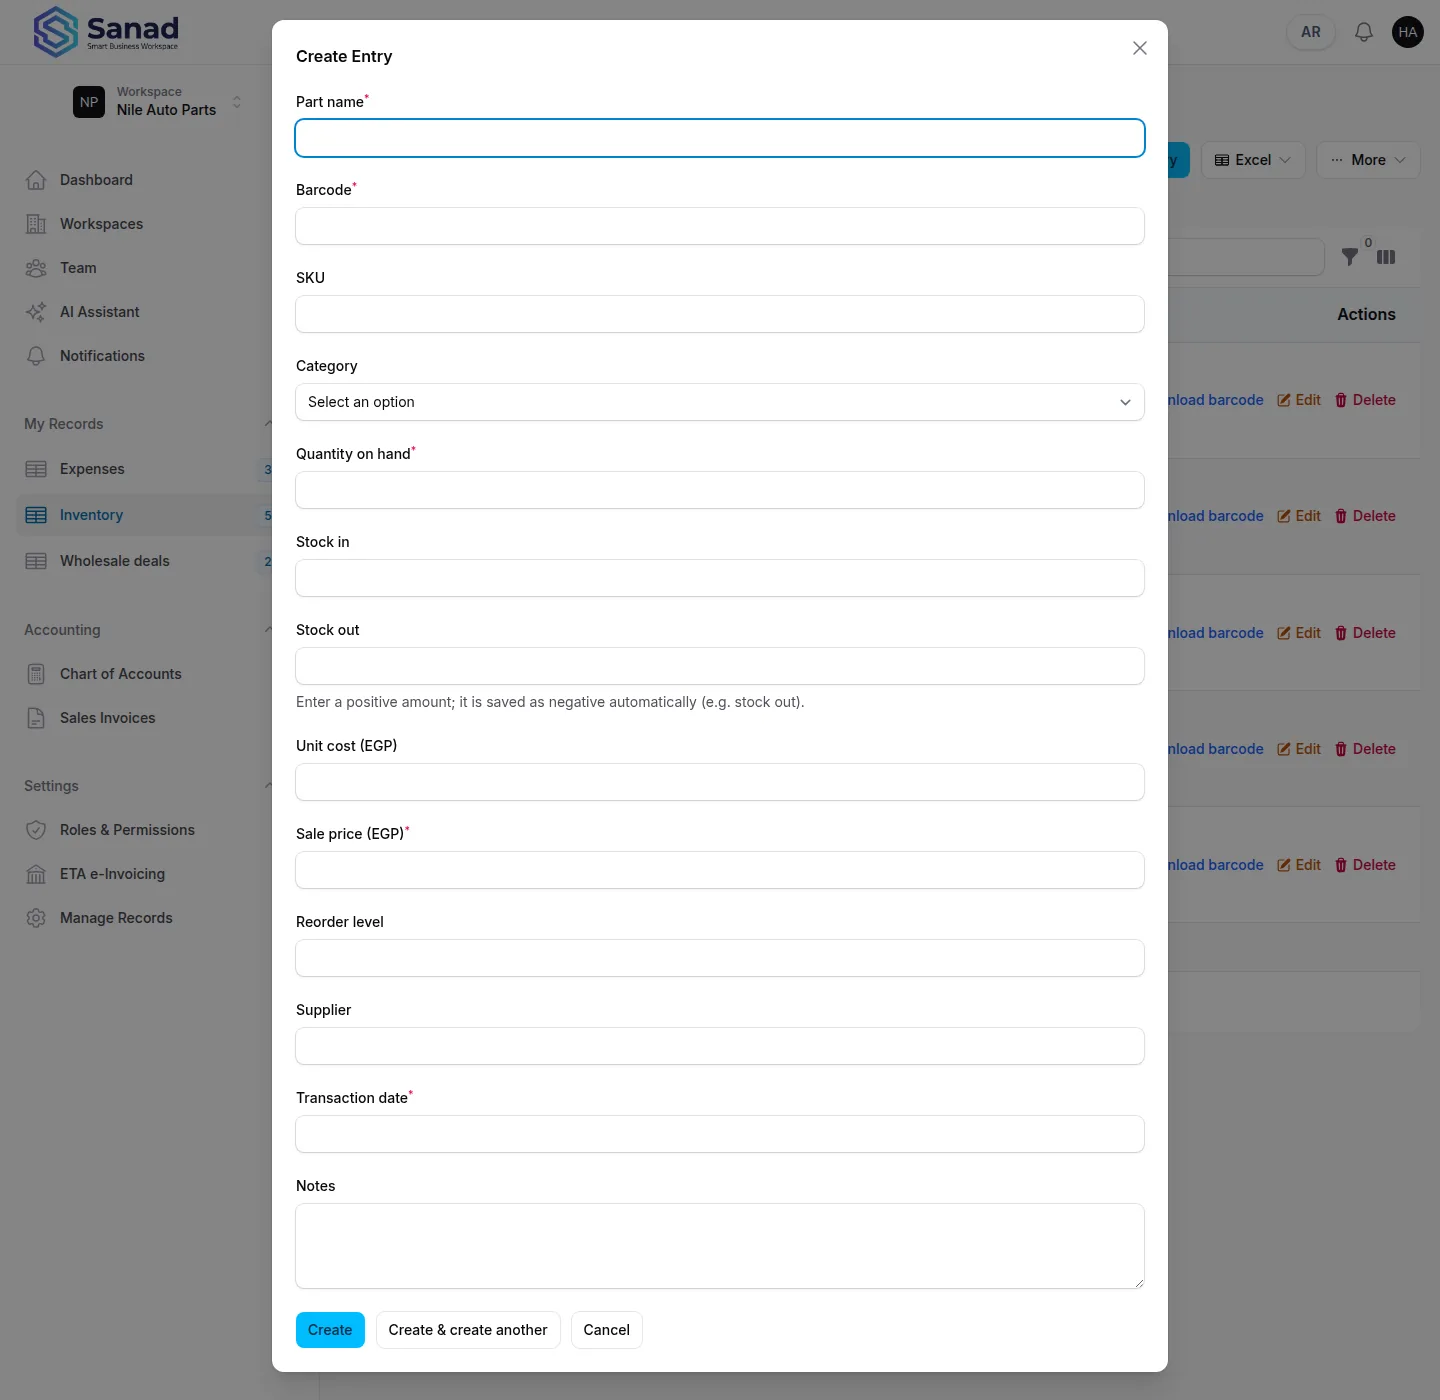
-
Step 3
Excel import and export
Use the Excel group: Download template, Export Excel, or Import Excel. Failed imports can download an error report.
Screenshots show the English workspace UI.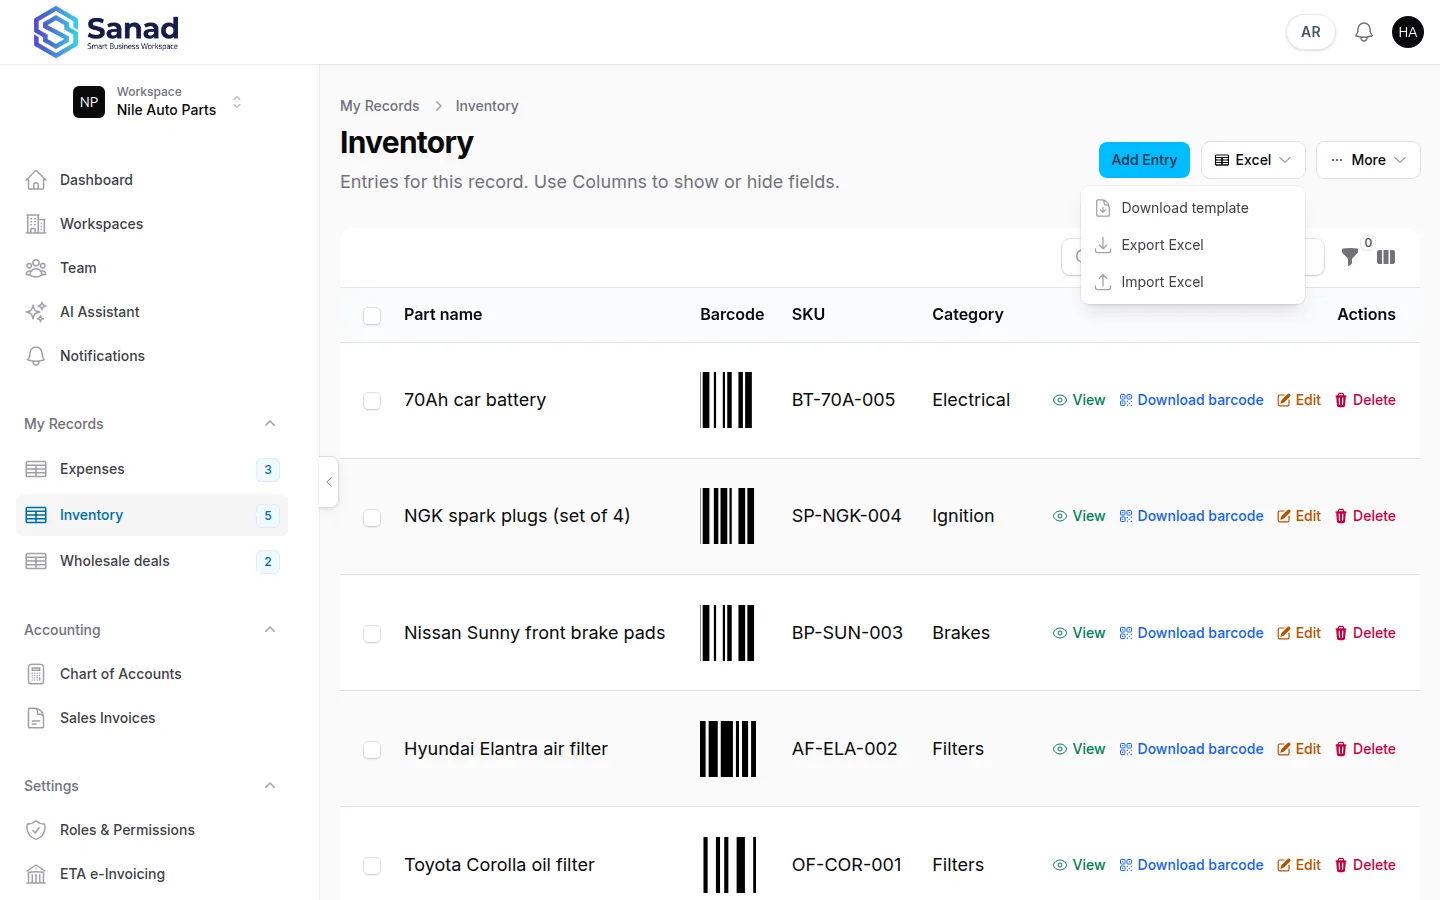
-
Step 4
Columns, filters, and totals
Use Show all columns if the table is wide. Open Filters for period or date range when the list has a Business date field. Footer totals appear when billable or footer-total fields exist.
Screenshots show the English workspace UI.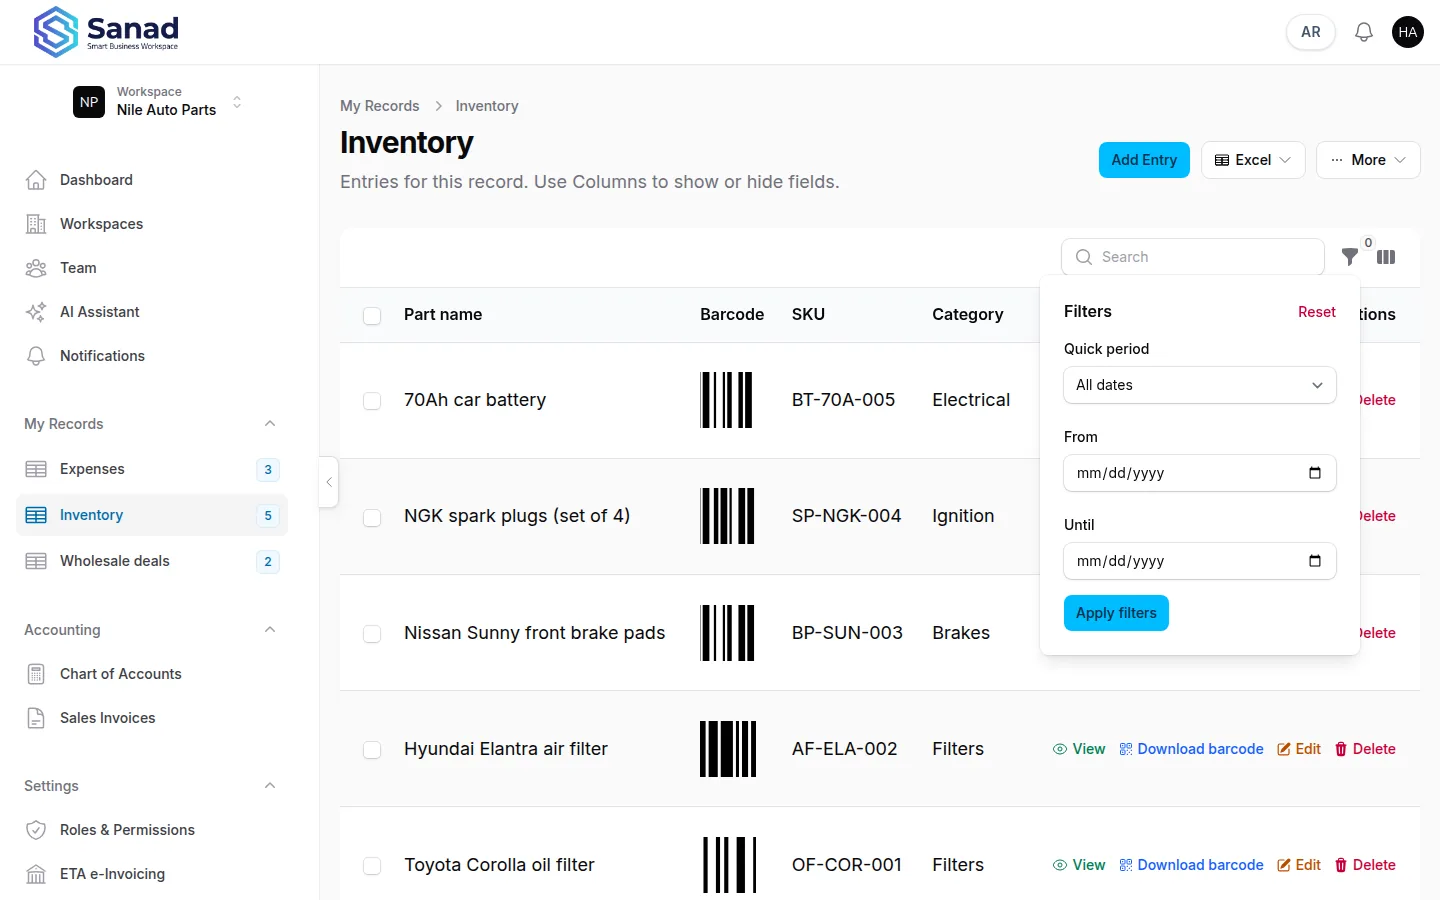
-
Step 5
Download barcode
If the list has a barcode field, Download barcode on a row prints a label. Scanning that label onto a sales invoice is in Inventory records on invoices and ETA.
Screenshots show the English workspace UI.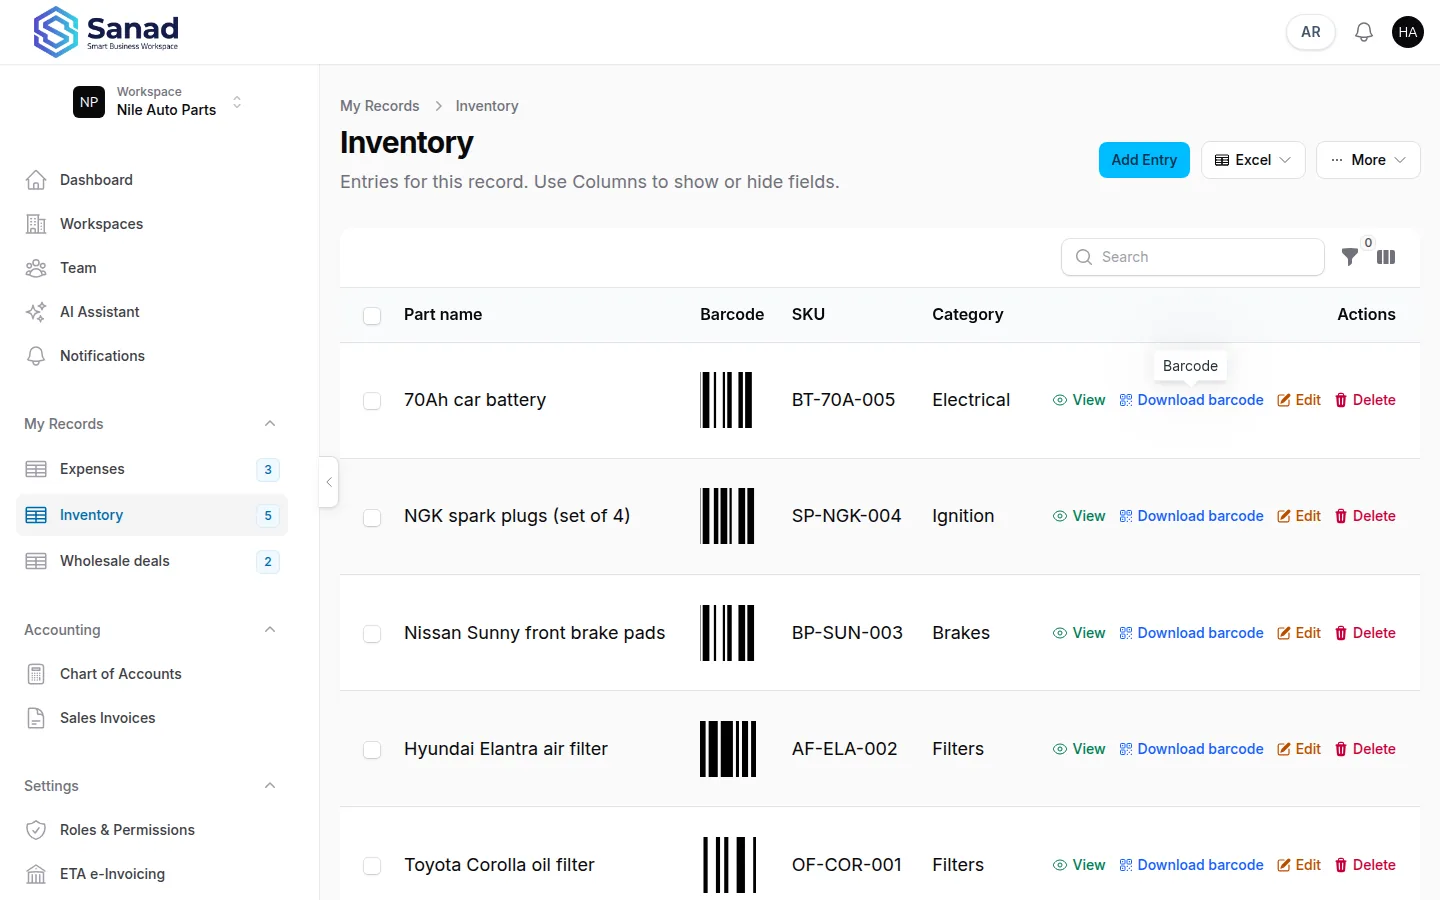
Related articles
Design a record list
Create a custom list: pick a template or start blank, set the name and dashboard options, add columns, then save. Daily entry is in My Records.
Roles and permissions
Owner designs permission packs. Team assigns those packs to people.
Inventory records on invoices and ETA
Turn a product list into invoice lines that print locally and submit to the Egyptian Tax Authority.
Home dashboard and revenue
See KPIs, charts, and plan usage on home for lists with Include in revenue dashboard turned on.